Hey there, mate! When it comes to keeping your home safe and sound, paying attention to your garage door is pretty important, especially if it’s making some odd noises or not quite operating like it used to. So, let’s dig into the telltale signs that your garage door springs might be on their way out and what you can do to stop any potential headaches before they start.
Understanding Broken Garage Door Springs
Garage door springs are pretty integral to the functionality of your garage door. They’re what make it possible for you to lift and lower the door smoothly with ease. So, when these little beauties start failing, you’ll notice. Let’s dive into the most common signs of broken garage springs and what to do about them.
Signs of a Broken Garage Door Spring
- Loud Noise: If you hear a loud, sharp noise like a gunshot echoing through your house, don’t worry; you’re not under attack! It’s likely the sound of a garage door torsion spring snapping. This happens because of the sudden release of tension.
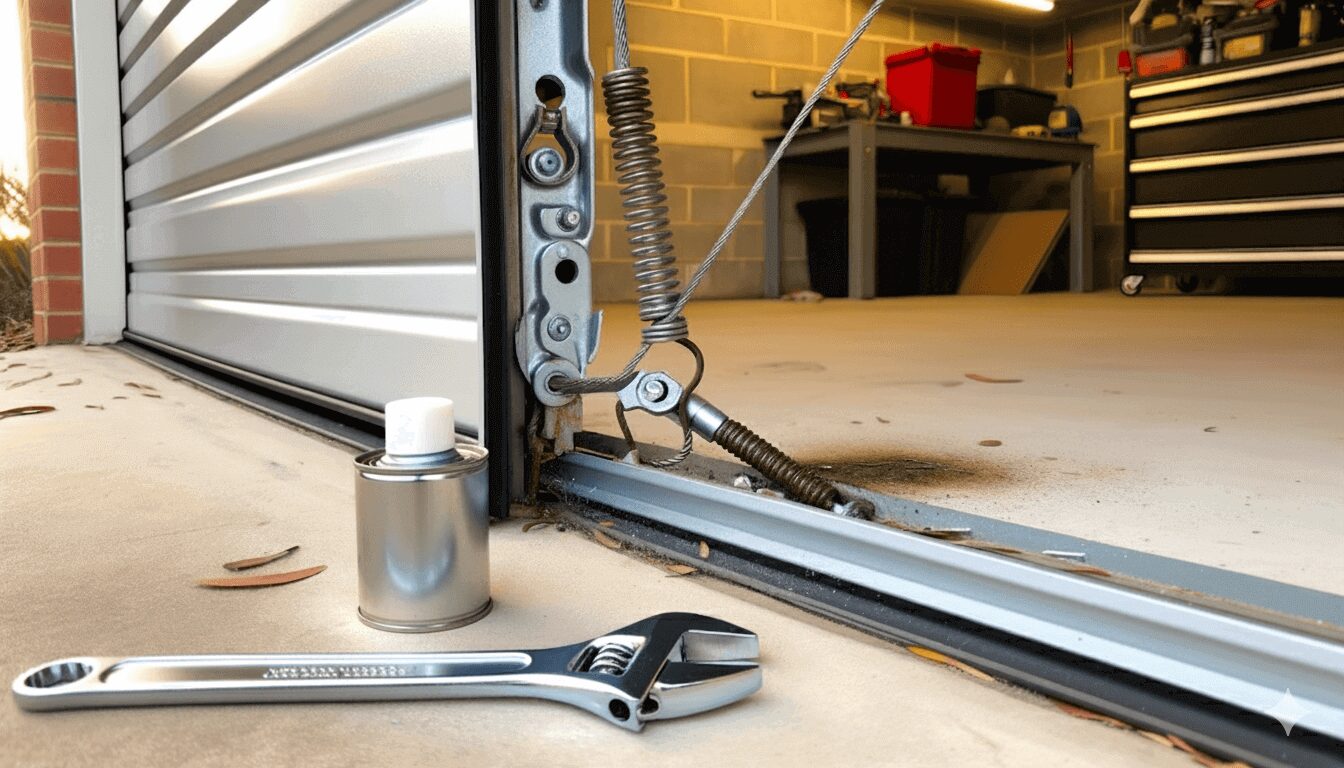
- Visible Break: Take a quick visual inspection of the springs. If they look snapped or there are visible gaps, that’s a clear indicator you’re dealing with a broken spring. You’ll notice a visible separation or a bend where the break has occurred.
- Door Movement Issues: If your garage door is jerking about or moving unevenly along the track, it might be a sign of a troubled spring. This uneven motion could result in the door becoming crooked or stopping unexpectedly, often just inches off the ground.
- Rapid Descent: When you attempt to lower a garage door with a busted spring, it might fall more rapidly than usual. This is because that broken spring isn’t providing the balance needed to control the door’s weight.
- Bent Door Top: Trying to open the door with a broken spring can cause the upper portion to bend, since the weight distribution across the door isn’t even.
- Heavy Door: If you’re straining to lift the garage door manually, it might be due to a spring that’s given up the ghost. Without the spring’s help, the door becomes a deadweight.
- Slow Movement: A door that opens or closes at a tortoise pace might also suggest spring troubles—especially if you hear the motor struggling during operation.
Causes of Broken Garage Door Springs
Knowing what causes spring breakages can help you prevent them in the future:
- Corrosion: Springs may rust from exposure to moisture, leading to eventual breakage. Keep them well-maintained and lubricated to fight the onset of corrosion.
- Sudden Impact: Accidental impacts, like a tap from your son’s cricket bat, can cause springs to snap.
- Wear and Tear: Like everything, springs wear out over time, especially with constant use. Typically, they need replacing every 7-10 years depending on how often you’re using the door.
- Incorrect Installation: Springs that aren’t installed properly may give you grief long before their time. Proper installation is critical for longevity.
Safety Precautions for Broken Springs
Dealing with garage door springs isn’t the time to heedlessly tinker. They hold serious tension and dealing with damaged springs carries risks. Consider these safety measures:
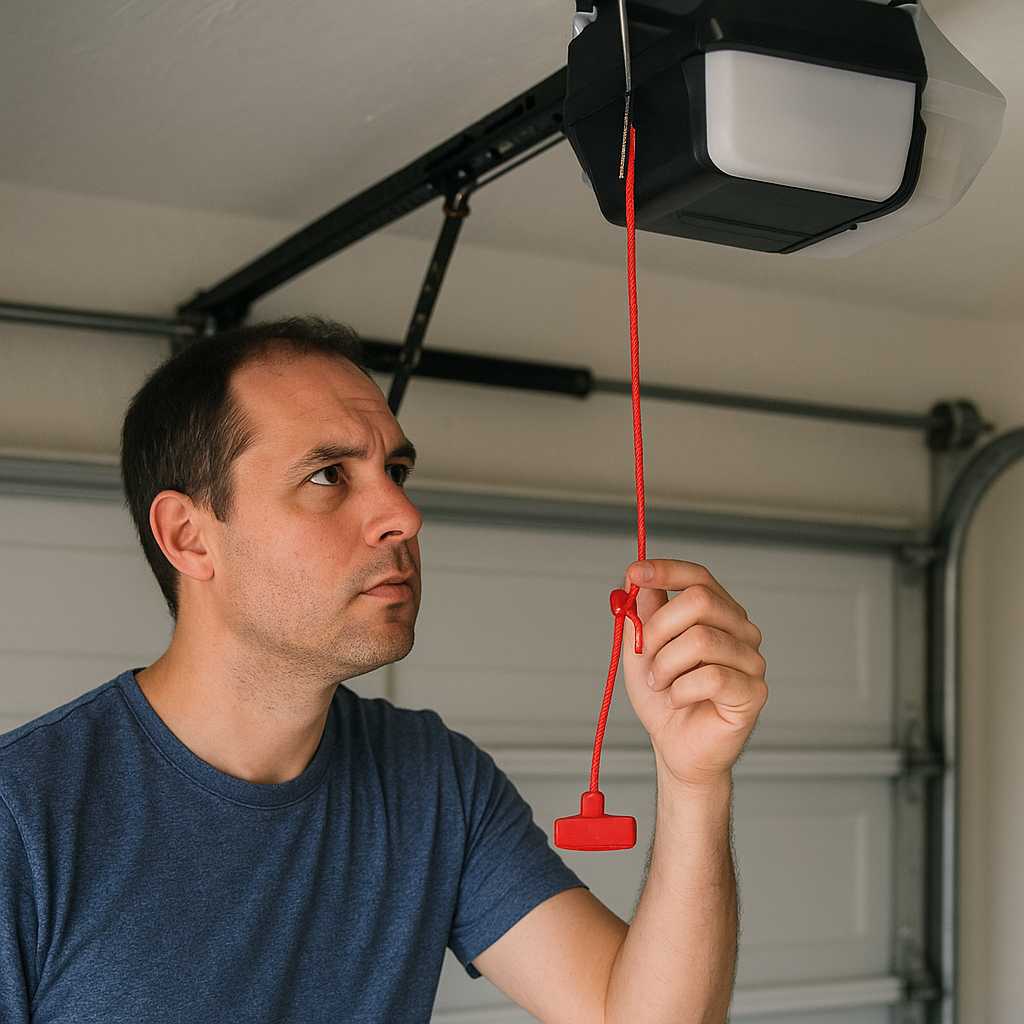
- Do Not Attempt to Open the Door: If you suspect a broken spring, leave the door closed. Opening the door can cause further damage and might lead to injuries.
- Unplug the Garage Door Opener: Before attempting any fixes, unplug your automatic garage door opener to prevent any unexpected movements.
- Use Proper Tools and Equipment: If you’re daring enough to replace it yourself, ensure you have the correct tools. A C-clamp, for instance, can secure the door while you work.
How to Replace Garage Door Torsion Springs
While it’s usually best to call in the pros, here’s a quick run-down if you’re a hands-on bloke or sheila with some experience under your belt:
Preparation Steps
- Close the Garage Door: Make sure the door’s all the way down.
- Unplug the Opener: Again, yank the plug out to avoid accidental openings.
- Secure the Door: Fasten a C-clamp to the track right above a roller at the lowest part to keep the door from moving.
Steps to Replace Springs
- Gather Tools and Materials: Make sure you’ve got the right size torsion springs and your tools handy.
- Measure and Identify: Measure the existing springs to ensure you get the right replacements. Check whether they’re left or right wound.
- Remove Existing Springs: Carefully remove the old springs, keeping track of how they’re placed and tensioned.
- Install New Springs: Wind the new springs as required and ensure they’re tightly secured. Rotate the setscrews until contacting the torsion tube, then tighten a half to three-quarters of a turn.
- Check the Door’s Balance: Once installed, manually lift the door to ensure it balances properly.
Additional Tips for Maintenance
- Lubricate the Springs: Regular lubrication helps fend off rust, using garage door-specific lubricant.
- Inspect Cables: Check for any frayed or damaged cables – they might indicate other underlying issues.
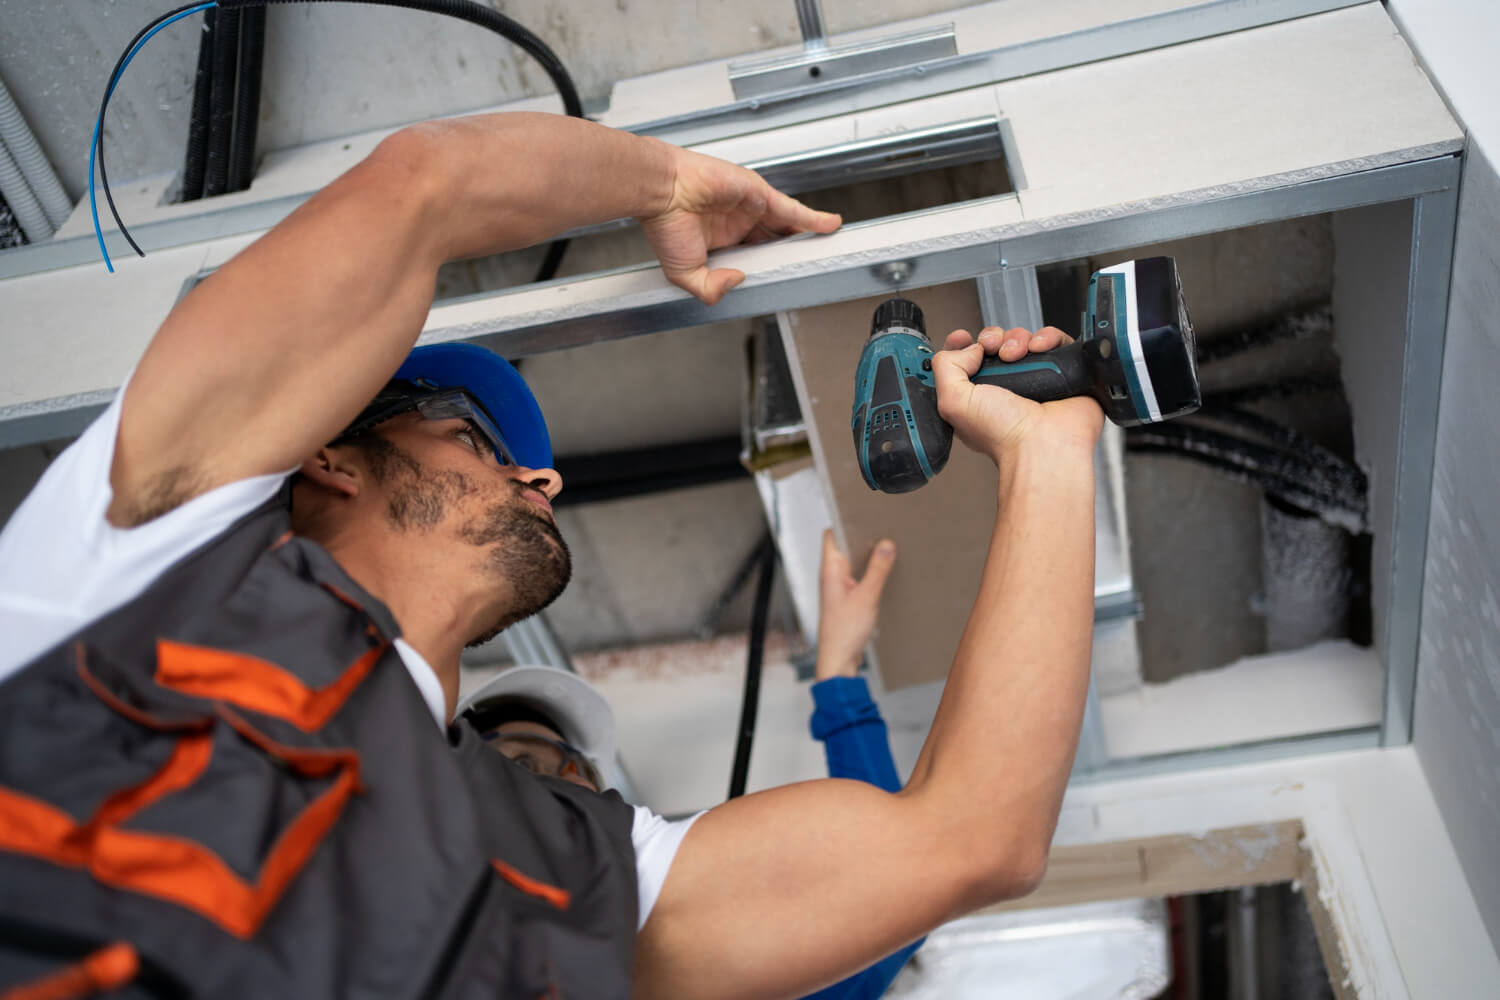
- Seek Professional Help: If you’re not comfortable tackling this project, call in professionals who have the chops and safety know-how to do the job right.
Sorting out garage door springs isn’t just about quick-fixes; the goal is keeping your entire system working safely and smoothly. Pay attention to the signs, stick to a maintenance routine, and don’t take on more than you can handle. She’ll be right, mate!