If you’ve installed a storm shield sectional door, congratulations! Your garage already has strong protection against weather, pests, and drafts. But even the best doors need attention to stay in good shape. With a few minutes of simple care each season, you can make your garage door work smoothly for years.
We’ll explore a few garage door maintenance tips curated by our experts.
But first, let’s understand how this door works.
What Makes the Storm Shield Sectional Door Special
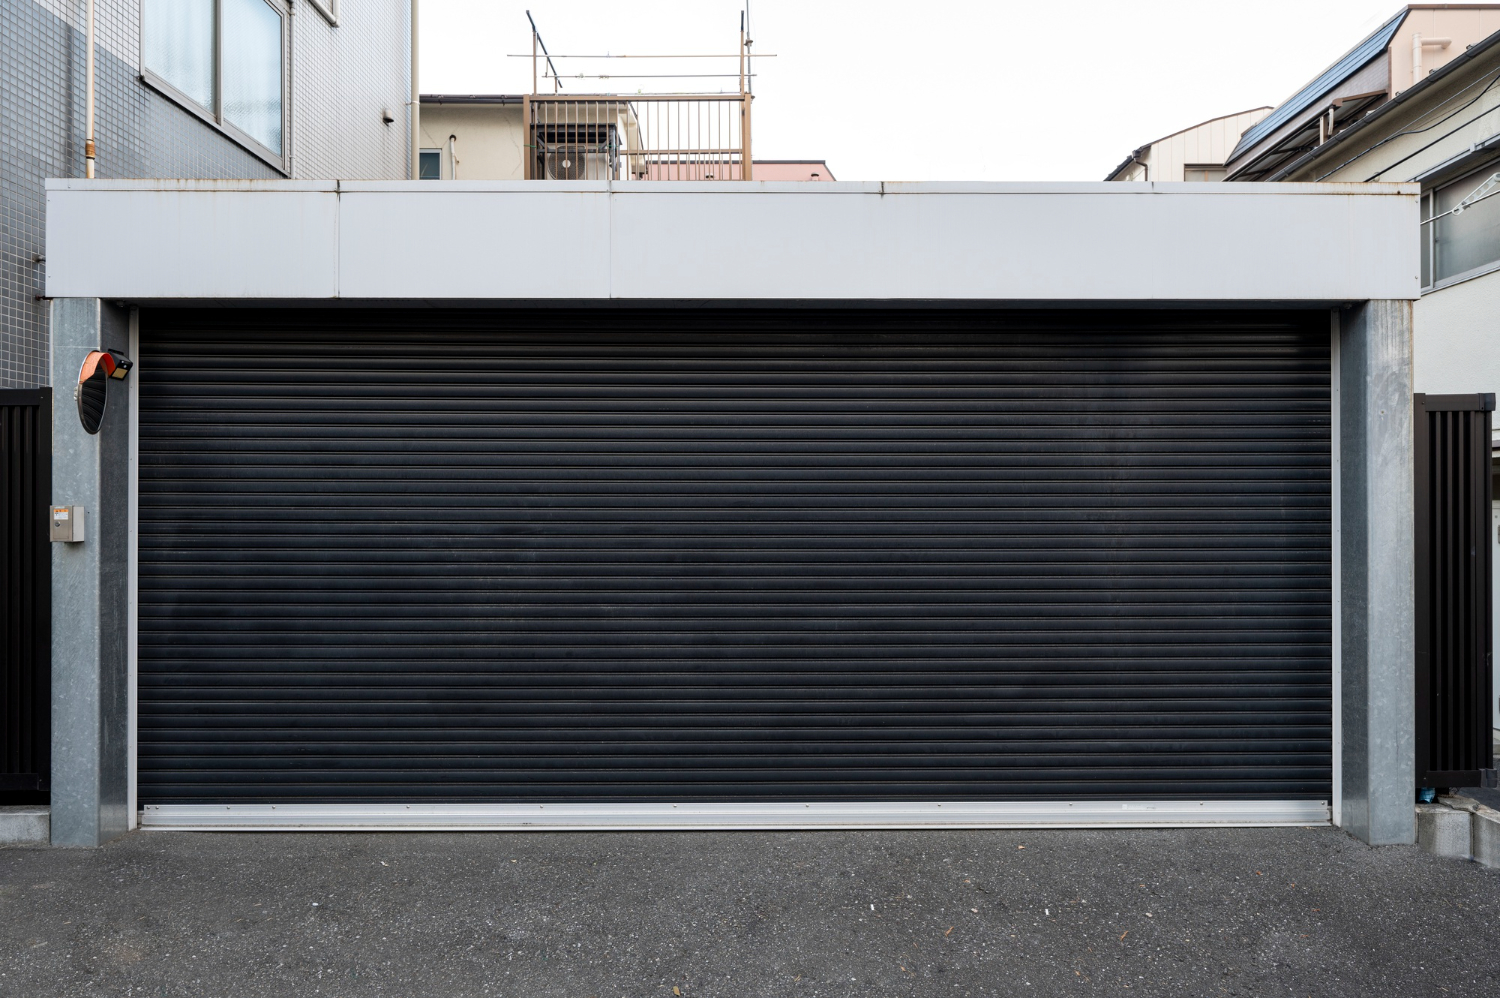
Manufactured by B&D Garage Doors, Storm Shield sectional door stands out for its weatherproof design. It’s engineered for high-wind regions in Australia, and meets the stringent building codes required in these regions.
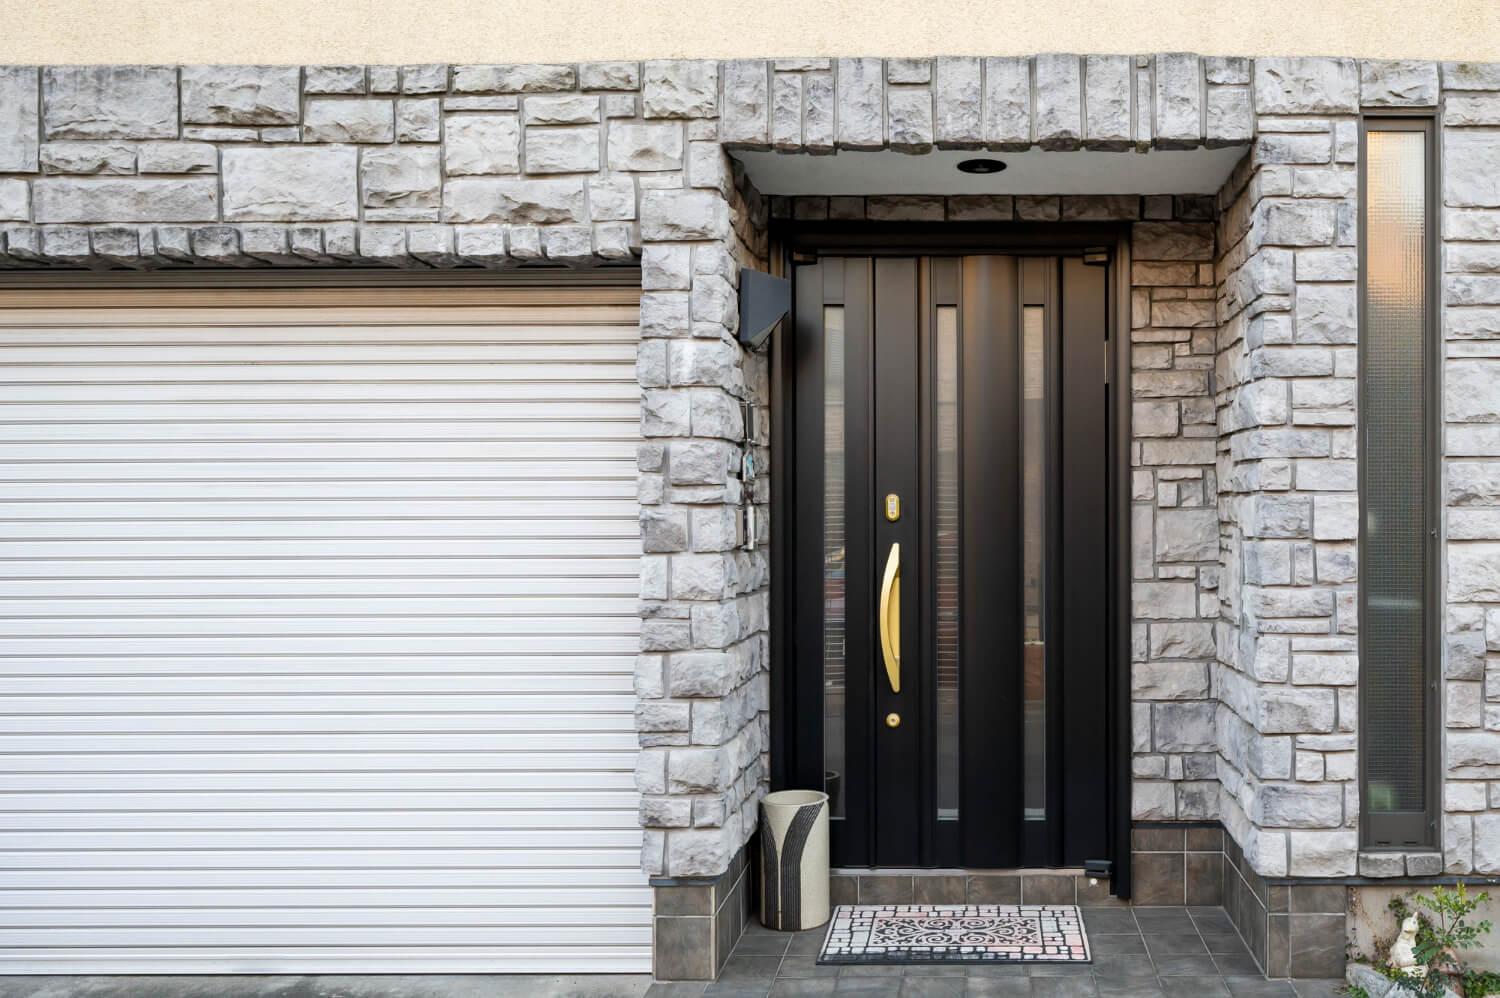
At the base of the door sits the Storm Shield Threshold Seal, which creates a tight barrier between your floor and the outside. This seal stops rainwater, dust, and pests from entering your garage.
It also helps stabilise your garage’s temperature, which can lower your energy use. Many South Australian homeowners appreciate how this feature keeps their garage cleaner and more comfortable year-round.
But, even with a sturdy design, this door needs regular upkeep.
Here’s what you need to do to keep your garage door in excellent shape.
1. Keep the Area Clean and Dry
Dust, leaves, and water can collect around your garage door’s base. Over time, this buildup can strain the seal or cause gaps that allow moisture to seep inside.
Use these steps to keep the space clear:
- Sweep the area weekly.
- Wipe down the bottom edge of the door.
- After heavy rain, check for standing water near the threshold.
Although Adelaide is the driest of all the Australian capitals, it still receives around 80 mm (3.1 inches) of rainfall every winter, making June the wettest month. If the area around your garage door’s base stays damp during this time, inspect the seal for cracks or loosened adhesive.
You may have to hire a garage door repair expert to stop moisture from weakening the rubber or adhesive over time. Let the pros come in, quickly check your door, and recommend a fix.
2. Check Seals and Panels Regularly
Just like your car needs regular health check-ups, your garage door also benefits from routine inspections. Nothing fancy, only visual inspections. Take a few minutes each month to look at every moving part of your garage door.
Be sure to:
- Inspect the seal: Press gently on the rubber seal at the thresholds. It should feel flexible, not brittle. It’s better to call a professional to replace it if you notice cracks or flattening.
- Look at the panels: Wipe away any dirt or cobwebs. Check for chips in the paint or rust around the hinges.
- Open and close the door slowly: Listen for unusual, grinding noises or jerking movement. These can be early signs that the door tracks or springs need cleaning or adjustment.
Catching minor issues early can save you from bigger and more expensive garage door repairs down the line.
3. Pay Attention to the Bottom Garage Door Seal
While the threshold seal does the lion’s share of the work, don’t ignore the bottom garage door seal. Inspect it regularly and replace it if it shows signs of wear and tear. Regular inspection and timely garage door repairs provide a complete seal, which helps in fighting both water and drafts.
4. Don’t Ignore the Seasonal Changes
With a desert to the north and an ocean to the south, South Australia has one of the most unpredictable weathers in the land down under. You can see rapid shifts between cool breezes and scorching heat, which also affect your garage door in different ways.
After summer, check the paint and hardware for any heat-related damage. At the start of winter, focus on the seals and hinges to make sure your door moves smoothly despite cooler air and moisture.
If you live near the coast or in areas with high humidity, like the Fleurieu Peninsula, increase the frequency of these checks to prevent long-term rust or corrosion.
5. Keep the Mechanism Lubricated
Your Storm Shield sectional door has many moving parts. Ask your technician to recommend the right lubricant for your door model. A light coat on the hinges, springs, and rollers keeps movement quiet and smooth.
Do not use heavy grease, as it can attract dirt. Wipe away extra residue to prevent buildup. Remember, a balanced door supported by clean, well-oiled parts works efficiently and protects the motor from excess strain.
Installing a Storm Shield Threshold Seal
One of the most common garage door repairs you may run into is replacing the rubber shield. You can select from two main types:
- Original Storm Shield Threshold: This involves adhesive caulk applied to the floor.
- Storm Shield 2 (Peel ‘n Stick): Comes with its own adhesive backing, eliminating the need for caulking.
Both options work well when the floor is smooth and clean. Wider doors may require extra adhesive. If you’re a DIYer, you can replace the seal, making it a weekend chore.
Follow these steps:
- Clean and dry the garage floor.
- Roll out the seal and align it with your closed door.
- Mark its position with a pencil.
- Lift the seal, apply three lines of adhesive, then press the seal back into place.
- Step along the length of the seal to set it firmly.
- Let the adhesive rest for at least 24 hours before opening the door again.
When to Call for a Garage Door Service
Even with regular checks, some jobs are safer when done by a professional. If your door starts to shake, opens by itself, or gets stuck halfway, it’s time to call for an expert garage door service.
A trained technician can inspect the motor, cables, and track alignment. They can also check the balance of the door, which is vital for long-term durability.
We also recommend regular professional maintenance to prevent sudden breakdowns and extend the life of your Storm Shield sectional door.
Call Filip’s for Garage Door Repairs and Installations
The Storm Shield sectional door offers a strong layer of protection for your home. With regular cleaning, small inspections, and timely repairs when needed, it can last for years. Follow the aforementioned maintenance habits to make that happen.
When in doubt, call a professional garage door service provider like Filip’s Garage Doors. We serve homeowners across Adelaide, South Adelaide, and the Fleurieu Peninsula, even on short notice.
Call 08 8555 4269 or reach out online to schedule your service.