G’day folks! If you’re considering setting up a new garage door while planning to charge your electric vehicle at home, you’re in for a treat. As garage door installation is becoming a popular DIY project across Australia, layering in an EV charging setup can seem a bit daunting. No worries here – we’ve got you covered with essential tips for a seamless installation that’s both garage-door-friendly and EV-ready.
Understanding Your Garage Space
Before diving into specifics, take a good look at your garage space. If you’re like most Australians, space is at a premium. You want to ensure your garage door and EV charger coexist without hindrance. Whether you have a compact single garage or a sprawling double setup, the layout will play a significant role in your project success.
Planning the Layout
When planning the layout, the goal is to ensure that your electric cables and garage door tracks do not interfere with each other. Consider these factors:
- Door Clearance: Ensure that the garage door, especially when moving up or down, does not snag cables or the charger unit. The placement of your EV charger is crucial here.
- Cable Safety: Avoid placing cables where they may become a tripping hazard or where they might get damaged by garage door mechanisms.
- Future Proofing: Think about maintenance and upgrades – choose a setup that won’t require a complete overhaul if you need a beefier charger down the line.
Prepping for Garage Doors Installation
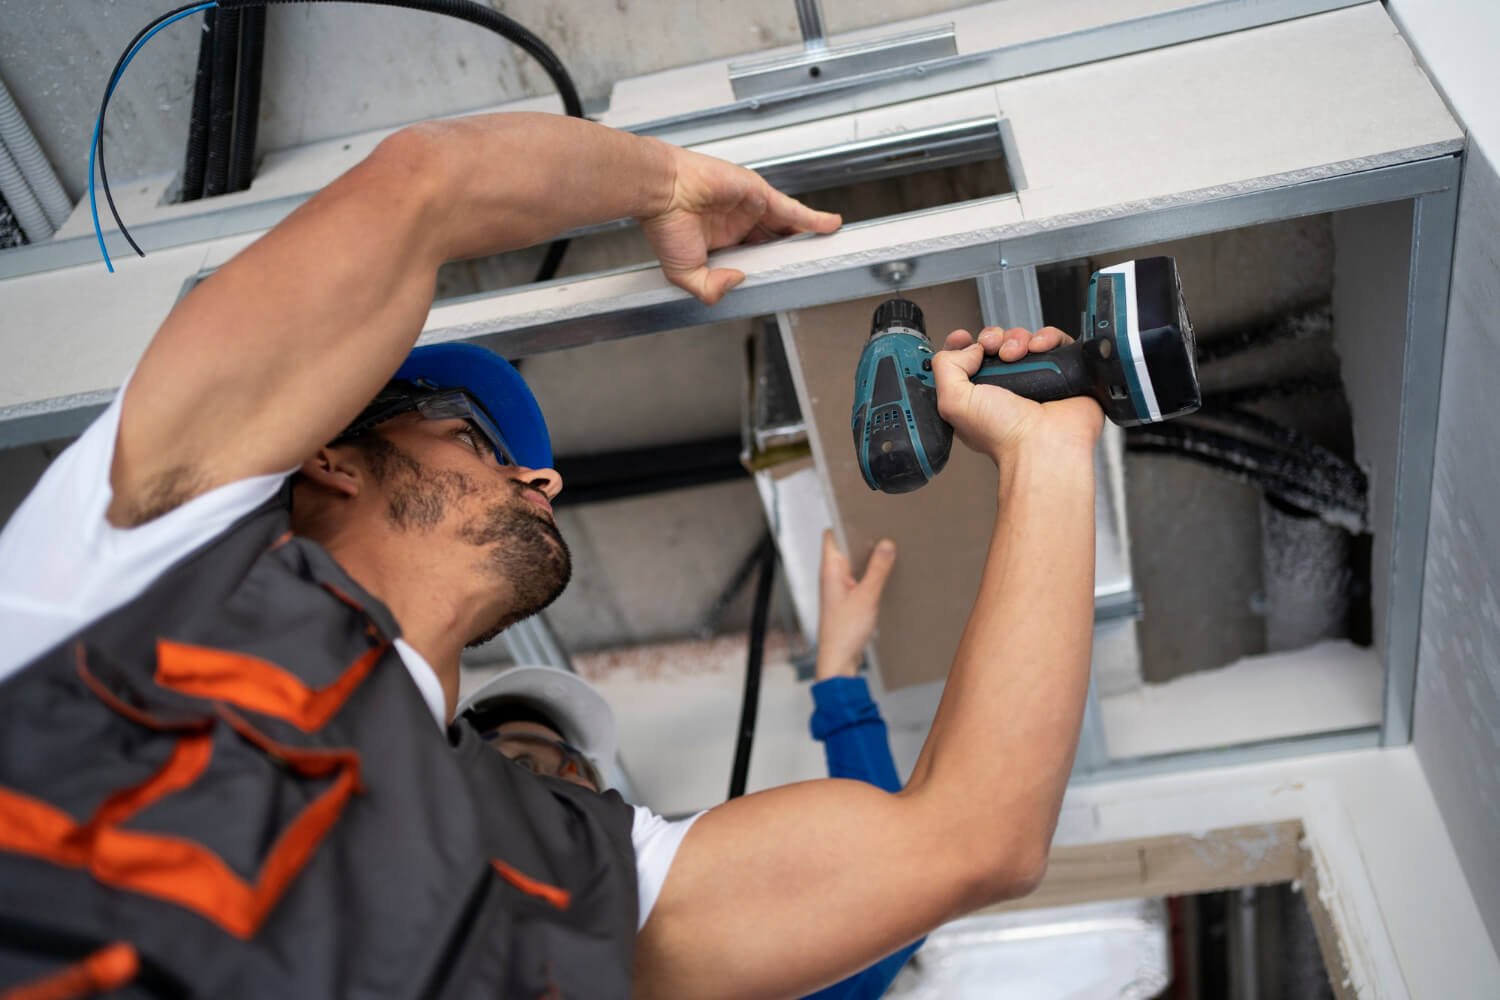
Let’s crack on with the steps for installing your new garage door. From tool prep to final adjustments, we’ve distilled it all here to help you tackle this like a champ.
Tools You’ll Need
Have you got your DIY toolkit ready? Here are the basics before you start:
- Tape measure
- Level
- Drill and bits
- Socket wrench or ratchet
- Safety glasses
- Ladder or step stool
Safety First!
Now folks, if there’s one takeaway here, let it be this: safety is paramount. No shortcuts, alright? Always wear safety glasses and keep your workspace clear. There’s no rush worth an injury, especially when dealing with tension-laden spring systems.
Step-by-Step Garage Door Installation Guide
Identifying and Preparing the Door Sections
- Stand back and take a good look at the door sections. Identify the left, right, top, bottom, and intermediate sections from the inside of your garage.
- Prepare the panels and ensure rollers are inserted into hinges and corner brackets of the bottom panel.
Assembling the Track System
- Attach jamb brackets to the vertical track using track bolts and nuts.
- Secure a flag bracket to the transition curve for an essential connection.
- Slide the vertical track into the swedged end of the curve track to complete this task.
Installing the Vertical Tracks and Door Panels
- Lift each panel and ease the rollers into the track, starting from the bottom and work your way up.
- Ensure each panel is square with the track and secure them with hinges and screws.
Securing the Tracks to the Wall
With the panels in place, firmly position the vertical tracks over the rollers and screw them into the jamb, maintaining the critical quarter-inch gap for smooth operations.
Installing the Mechanism and Springs
This step is a biggie, so attention to detail is key – center the mechanism perfectly, install the upper rail and bracket, then cautiously and precisely wind the springs as per the manufacturer’s instructions.
Garage Doors & EV Charging: Perfect Partners
When your garage door is secure and operating seamlessly, focus shifts to the EV charger. Placement is everything. Ensure it’s accessible without hampering door operations. A thoughtfully placed charger ensures your EV is ready to hit the road every morning without the sort of drama none of us needs.
Final Tips for a Harmonized Setup
- Test Run: Before calling it a day, test the whole setup. Open and close the garage door several times and plug in and unplug your vehicle.
- Maintenance Routine: Regular checks and maintenance will keep things running smoothly. Lubricate moving parts and inspect for wear and tear.
- Clever Cable Management: Secure cables high and away from moving parts and foot traffic.
And there you have it, mates! A garage door installation that not only keeps your space secure but complements your electric future. Making your garage door installation EV charger-friendly isn’t as daunting as it sounds when you properly plan and implement. Until next time, keep tackling those DIY projects and driving electric. Cheers!